How to Launch Your School with Nautixo: A 7-Step Guide
You’ve just created your school account on Nautixo? Great. In this guide, we’ll go through the steps to configure the platform and become operational in no time: from setting up the school profile to creating your first training activity with students and skippers.
Follow the seven steps below in order: each step prepares the ground for the next.
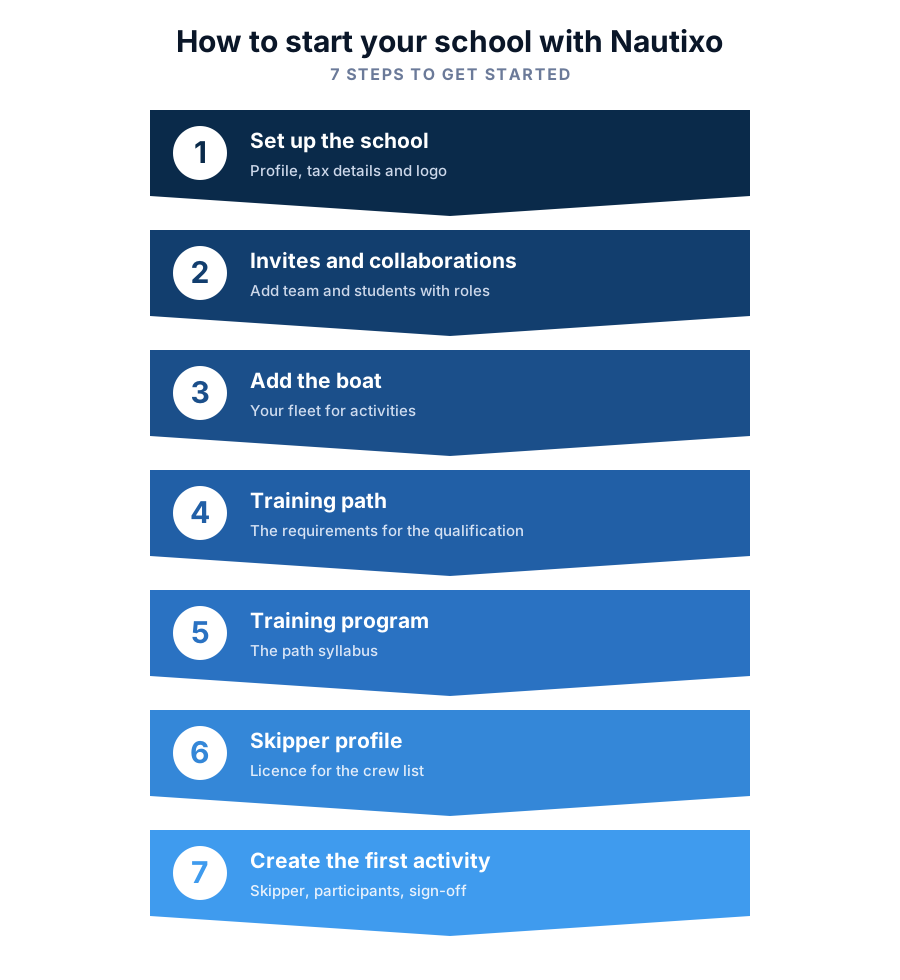 1. Set up the school
Go to Settings to complete the school profile: name, address, contact email, website, and VAT number. If your plan allows it, upload your logo: it will appear on PDF certificates and crew lists, giving a professional touch to all documents generated by the platform.
2. Send invitations and set up collaborations
Go to Invitations and Collaborations → Generate Invitation and send invites to collaborators, skippers/instructors, and students. Choose the correct role for each person: the role determines what each person can see and do on the platform. A well-assigned invitation saves you from having to correct permissions later.
3. Add the boat
Go to Boats → Add Boat and enter the name, type, technical details, and flag. Registered boats will then be available for selection when you create an activity, so every outing is linked to the correct vessel.
4. Qualifications and Training Paths
Nautixo already includes several predefined training paths, such as the Swiss Offshore Certificate of Competence (SCCOY) and RYA qualifications. Over time, additional recognized training paths will be added, making them ready to use out of the box. If the training path you use is not available, you can easily create and configure it yourself.
Go to Settings → Qualifications and Training Paths. From there, you can duplicate one of the predefined training paths and adapt it to your needs, or create a completely new one.
Each training path defines the requirements needed to achieve a specific qualification, such as sailing miles, days at sea, practical skills, theoretical knowledge, and any other prerequisites.
5. Training program
Nautixo also provides a collection of predefined training programs, each consisting of the list of competencies that students are expected to acquire throughout their training. If the available programs do not meet your needs, you can modify them or create new ones.
Go to Settings → Training Programs and create a program using the syllabus you require. Typically, one training program is created for each training path, allowing it to be assigned directly to related activities and making it easy to track each student's progress.
6. Ask the skipper to complete their profile
Ask the skipper to complete their profile by adding their qualification: this will be used, for example, to automatically fill in the crew list. A complete skipper profile makes document generation faster and more accurate.
7. Create your first activity
Go to Activities → New Activity. Fill in the title, dates, boat, and type, then add the responsible skipper and the participants. Apply the desired training program: during and after the activity, you can tick off the completed items and validate the students’ requirements, helping them progress toward their certification.
Done! With these seven steps, your school is fully operational on Nautixo. From here, you can create new activities, monitor students’ progress, and issue certificates directly from the platform.